Building a Reliable Remote PC Power Relay
6 April 2026
My primary Windows workstation (Ryzen 7 7800X3D, RTX 4080 Super) is an absolute workhorse. I use it to run heavy local AI workloads (like Gemma4:32B, Qwen 3.5 etc) inside WSL2.
But there is a fatal flaw in WSL2: GPU enumeration crashes. Sometimes, after a heavy run or a bad container shutdown, the virtualized GPU state corrupts. The system locks up. The SSH keepalive dies. You can't issue a graceful remote restart.
Traditionally, the solution to remote management is Wake-on-LAN (WoL). But WoL only works if the PC was gracefully shut down with WoL armed in the network driver. If the PC crashes, or if there is a brief power blackout, WoL is completely useless.
I needed a system that worked 100% of the time, regardless of what state the PC was in. No remote hands needed. No cloud dependency.
Here is how I built it.
🛠️ The Tech Stack / Equipment
- Raspberry Pi (The orchestration brain) - purchase anywhere I used the Pi 5 4GB
- Twingate (For secure, zero-trust remote access to my network - Read my Twingate setup guide here)
- Athom 1CH Tasmota Relay (Pre-flashed, Micro-USB powered) - here
- Athom Tasmota Smart Plug (To cut 240V mains power) - here
- Motherboard Header to Micro USB (Provides power to relay) - here
- Y Splitter Cable (splits the trigger between the On/Off button and relay) - here
- Dupont Cables (Wiring everything together) - here
🏗️ The Architecture: How It Works
The system physically hijacks the motherboard's power button and wall socket.
[Raspberry Pi] ──HTTP──▶ [Tasmota Smart Plug] ──AC power──▶ [PC PSU]
                                │
                           +5V standby
                                │
[Raspberry Pi] ──HTTP──▶ [Tasmota Relay] ◀──────────────── [USB header]
                                │
                         NO + COM contacts
                                │
                         [PWR_SW header] ──── [Case power button]
- The Smart Plug controls the 240V AC power to the PC. If the PC hard-crashes, the Pi can instantly cut the power at the wall, wait 10 seconds, and restore it.
- The Relay is wired directly in parallel with the physical case power button. When the Pi sends an HTTP trigger, the relay closes for exactly 0.5 seconds, simulating a human finger pushing the button.
- The Pi acts as the orchestrator. When I run
start_pc.sh, the Pi turns on the wall plug, waits for the relay to boot, fires the 0.5s pulse, and polls the Windows SSH port until the PC is ready.
🔒 Network Security (VLAN Isolation)
IoT devices are notoriously insecure. Both the Smart Plug and the Relay are physically locked to my IoT VLAN.
In my UniFi console, I created a firewall rule (Internet Local WAN Out -> Drop) targeting their static IP addresses. The Pi (on the management LAN) can talk down to them, but they are physically incapable of phoning home to external cloud servers.
🔧 The Hardware Build
Step 1: Pre-Configuring the Relay (Crucial)
Before you wire a relay to your motherboard, you must configure it.
⚠️ The Boot Loop Mistake: In my first attempt, I wired the relay straight to the
PWR_SWpins without configuring the pulse time. The relay defaulted to "closed" indefinitely. It was the equivalent of holding the power button down forever, forcing the PC into a brutal 2-hour loop of hard shutdowns.
I powered the relay via USB first, accessed the Tasmota console, and ran:
PulseTime 5(Sets the relay to auto-release after 0.5 seconds)PowerOnState 0(Mandatory: Forces the relay to default to "Open/Off" when it receives power).
Step 2: The USB Standby Power Mod
The relay is powered by a 9-pin internal motherboard USB header to Micro-USB cable.
⚠️ The WSL GPU Crash Fix: A standard USB cable contains 4 wires (5V, GND, D+, D-). If you plug this into the motherboard, the BIOS detects the relay's serial chip as a USB device during POST. This causes the BIOS to stall before initializing the GPU.
The Fix: I physically removed and insulated the Green (D+) and White (D-) data wires. This turns the cable into a "dumb" 5V power supply. The BIOS never sees it, and the GPU initializes perfectly.

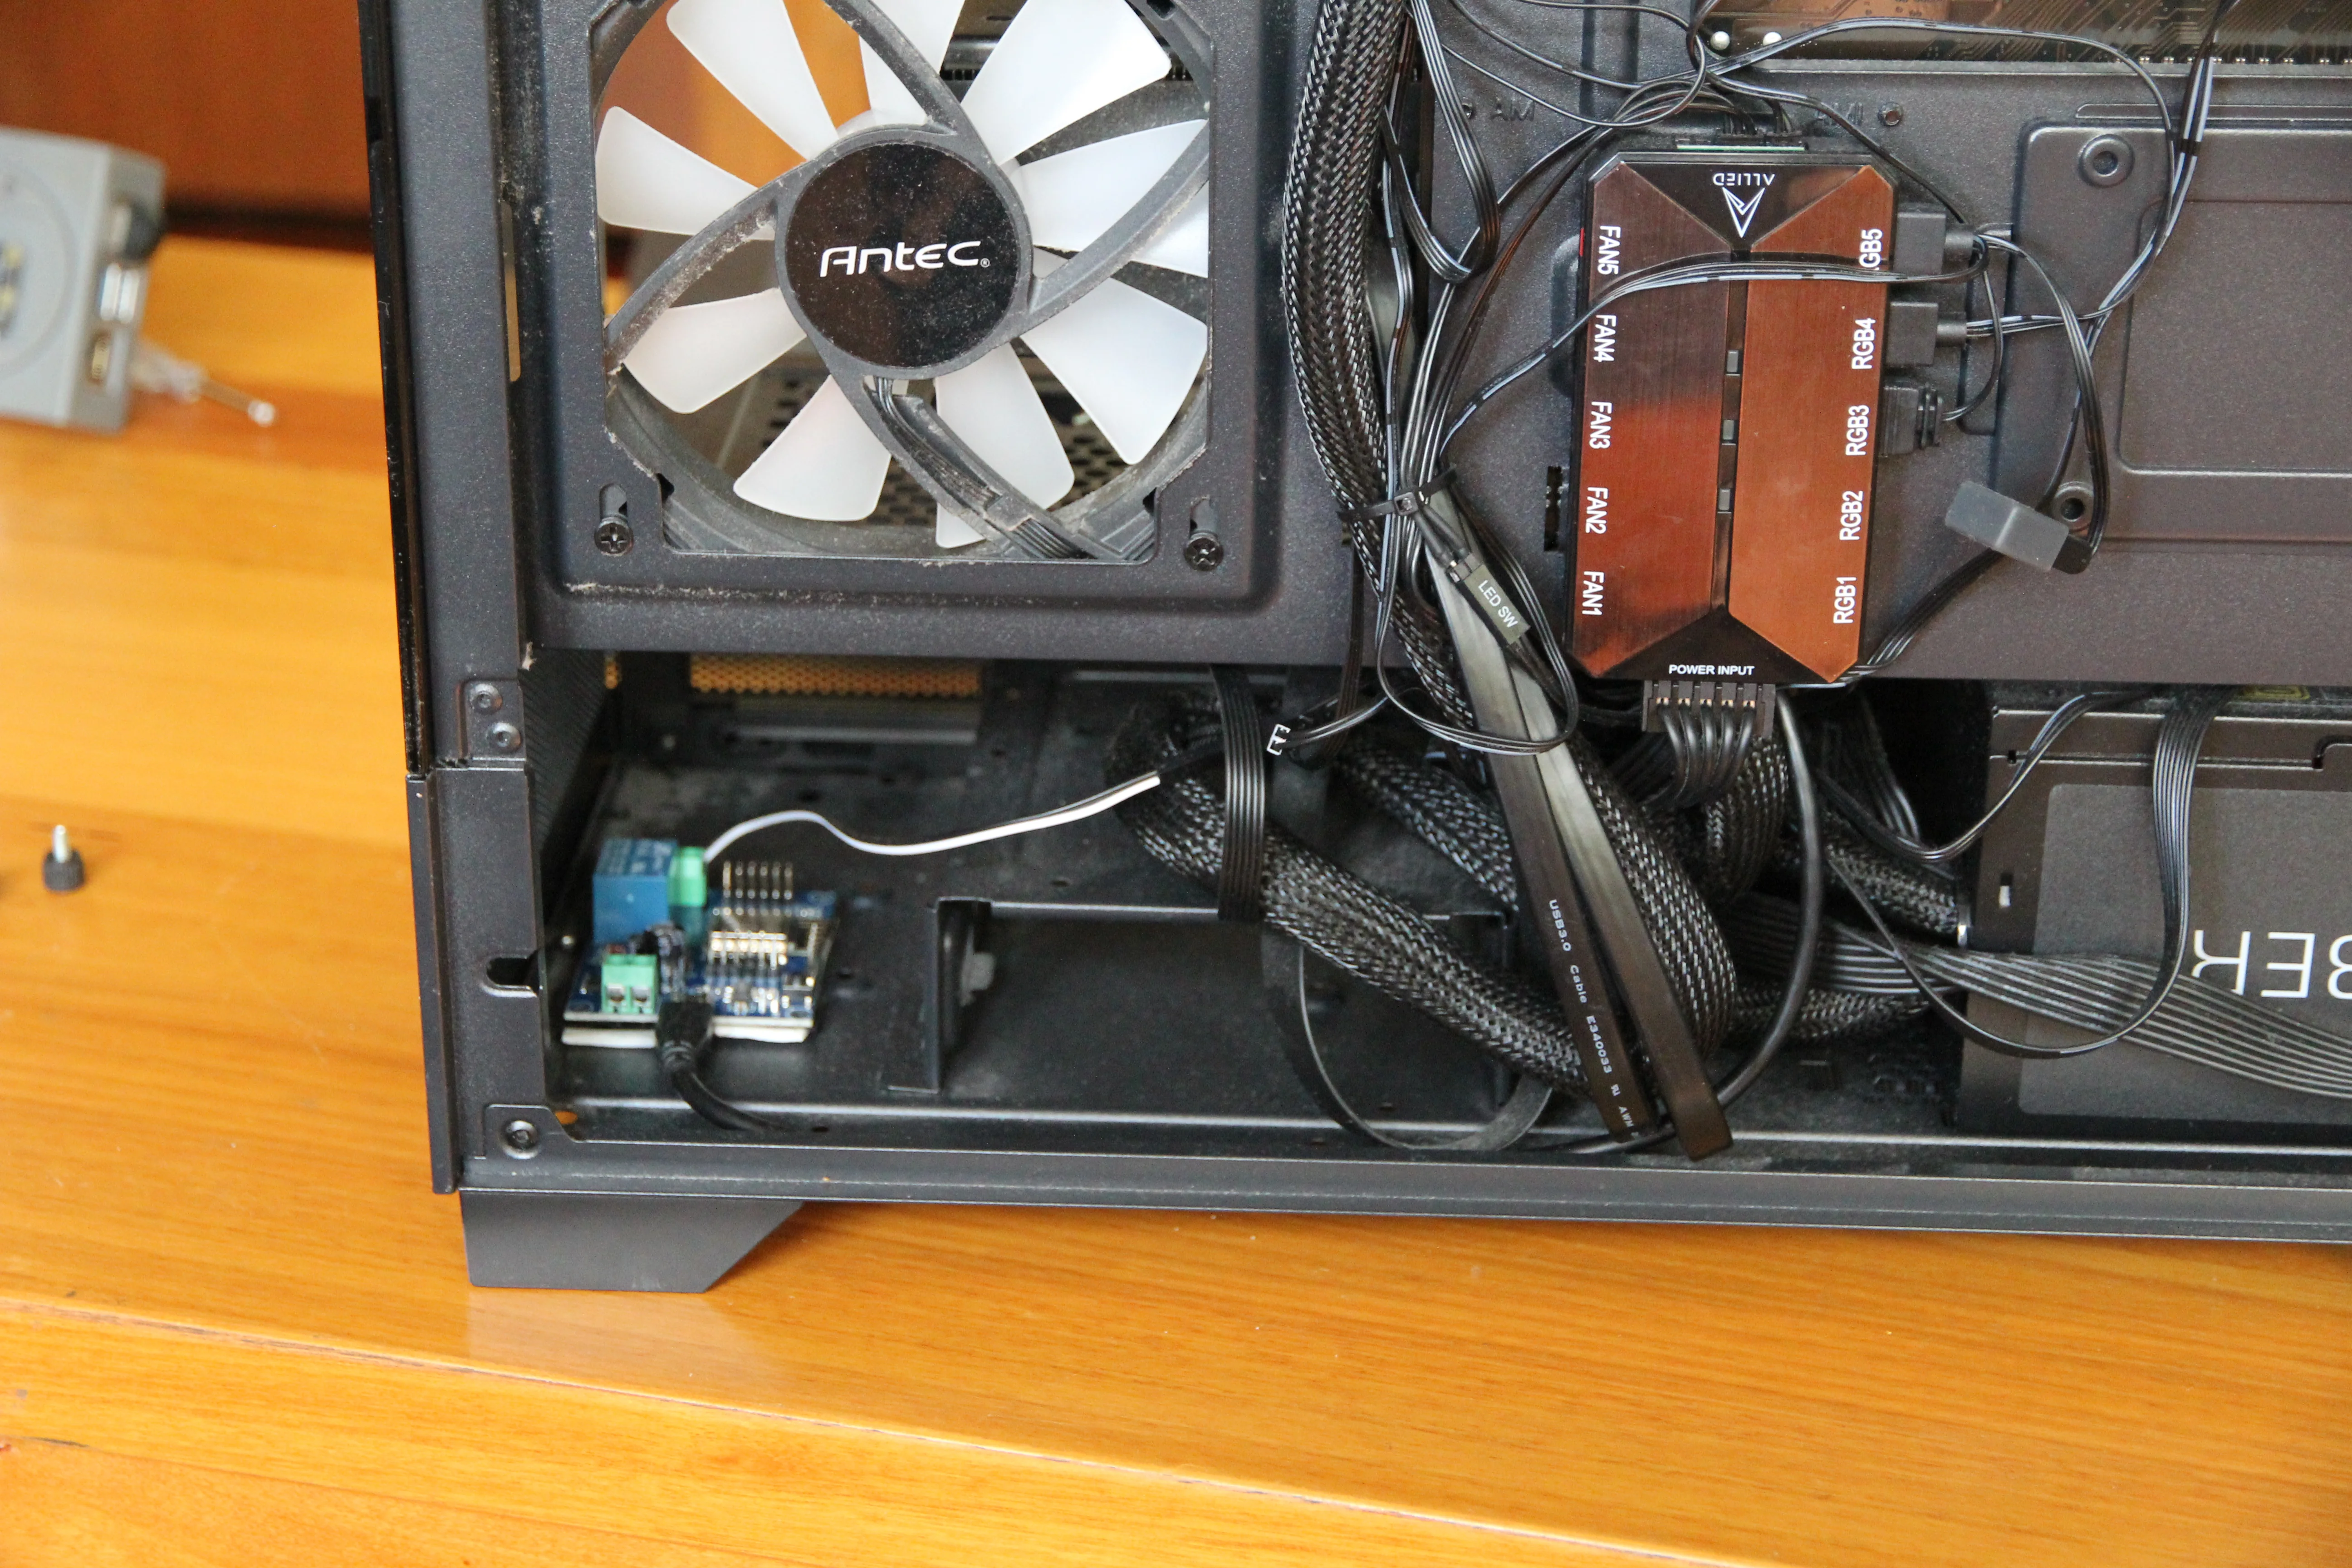
Step 3: Physical Wiring
- Unplugged the front-panel case power button.
- Slipped a 2-pin female Y-Splitter onto the motherboard's
PWR_SWheader. - Plugged the case power button into one leg (so the physical button still works).
- Spliced the other leg into the NO (Normally Open) and COM (Common) screw terminals on the Athom Relay.
- Mounted the relay inside the case using double-sided foam tape to prevent any electrical shorts against the metal chassis.
⚙️ BIOS & OS Configuration
For the relay to receive power while the PC is turned off, the motherboard must supply 5V standby power to the USB headers.
In my BIOS settings (Settings -> Advanced -> Power Management), I had to explicitly ensure ErP was Disabled. (If ErP is Enabled, the motherboard cuts all standby power to save 1 watt of electricity, rendering the relay dead).

On the Windows side, I disabled Fast Startup (Control Panel -> Power Options), as it can interfere with clean shutdown detection.
💻 The Orchestration Scripts
I wrote two Bash scripts that live on my Raspberry Pi 5. Because my network is secured via Twingate, I can securely SSH into the Pi from my phone anywhere in the world and execute these scripts.
1. start_pc.sh
This script checks if the PC is already running. If not, it checks the wall plug. If the plug is off, it restores 240V AC power, waits exactly 45 seconds for the internal relay to boot and connect to Wi-Fi, then fires the 0.5s HTTP pulse. It then polls the PC's SSH port until Windows is fully loaded.
2. shutdown_pc.sh
This script prevents data corruption. Instead of just cutting the wall power, it SSHs directly into the Windows machine and issues a native shutdown /s /t 0 command. It then monitors the SSH connection. Once the port drops (confirming Windows has halted services), it waits an extra 25 seconds for the disks to unmount, and then cuts the 240V wall power via the smart plug, leaving the system completely dead and safe from power surges.
🚀 The Result
I now have a 100% reliable remote boot system. If WSL crashes the GPU and the system locks up, I can run my shutdown script, cut the wall power, wait 10 seconds, and cold-boot the machine from bare metal, completely restoring the GPU state.
Total cost? About $45 AUD. Total uptime? 100%.